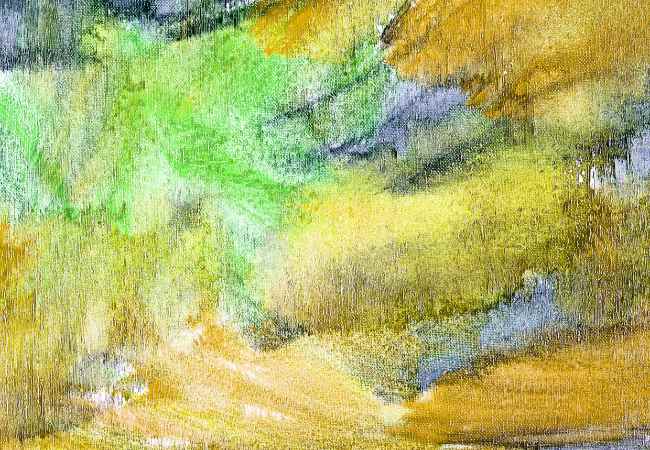
Making non-smooth surfaces within the artworks makes our painting feel 3D, which in turn makes the painting feel more interactive.
Surface is a vital feature of the painting because it can easily bring dimension into the flat canvas so polishing surface wouldn’t do it justice.
Try to picture running your hand throughout the entire canvas, running your fingers throughout the layers of paint, the bumps as well as the grooves, this is an experience that is engaging as it invites touch.
Adding a textured surface is not just playing around with material, but an added feature into shaping a narrative, it adds movement or depth or even emotion for that matter, even a change in light can create shadows as well as highlights upon a textured surface, helping it shine along.
We can concentrate on the subtopics of covering layers within the canvas with paint in this specific post. We have real life examples alongside practical tips that would help you reshapeinto an interactive canvas.
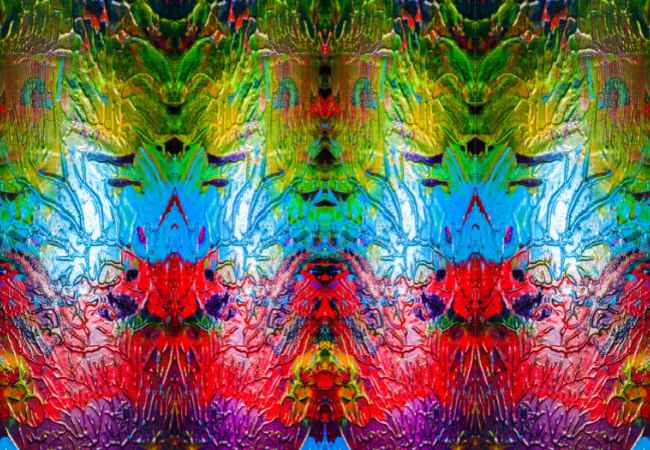
Why Texture Matters in Acrylic Painting
The Impact of Texture on Perception
Let’s discuss how texture shapes a viewer’s experience.
When you observe a painting, what do you observe first: the colors, the theme, or perhaps the design? But for the moment, notice if that piece of artwork is textured: now you are looking at not only the image but also the texture of the work of art. Because texture has the power to tell a story of its own, it only adds another facet to the way in which a particular artwork is envisioned.
Let us take as an example Vincent Van Gogh’s “Starry Night”. The textured strokes and the paint applied to the sky give it an energetic character, emphasizing what might have been a plain depiction of a still night into an impassioned masterpiece. It’s not that windy, is it? It seems as though Van Gogh poured out his emotions onto the canvas, and the texture only adds to that emotion.
Texture, on the other hand, has a different intention in modern art. For example, an artist like Anselm Kiefer views texture as symbolism of mass and history. His thick, densely painted pictures are often placed in a certain location and remind one of certain worldly events, and so the history behind them is concealed under the texture. The presence of texture is not only visual, it is an element of formation and conflict as well.
The Influence of Texture in Emotion
For the moment let’s go deeper into the subject on how texture affects emotions.
Back in the early days when I was trying out different art techniques, I remember being particularly fascinated by the impasto technique. The first piece I remember using it on involved squeezing thick strokes of acrylic paint over a canvas to create raised areas that seemed to provide depth to the landscape.
When I showcased it in my local gallery, I saw something astonishing. People were not simply viewing the piece; They were actually feeling the painting. I gaped as they stroked the object and their eyes were alight with the most entertaining and inquisitive mixture of emotions.
A particular one stood for a long duration in front of the piece with blank thoughts, and later held me down to say that it was evocative of the home they lived in as a kid with hills surrounding it and a vivid sunset that the painting captures. It was remarkable how i can use texture to connect to a person’s life experiences and feelings and close the distance between a creator and a fan.
This strengthened my understanding about texture. It is how one perceives the object instead of simply judging how it looks. The moment we start adding textured features into our paintings, we prepare our audience for a discussion and encourage them to analyze their sensations to the piece more deeply.
Beginning in Texture with Acrylics: A Step by Step Guide
Acrylic, a paint appreciated by artists and craftsmen alike, is a medium that offers flexibility. Not only are there numerous methods of utilizing this paint, but there are quite a few qualities that are unique to it as well.
Let’s see what enables artists to make use of acrylics to construct texturized layers. One of them is: being quick to dry, acrylics make it possible to employ a layering technique into the work to construct the needed depth into it. This also enables completion in a single session which can’t be said for oils since those take forever to dry.
A consideration that needs to be given to acrylics is the surface when it dries: the surface turned into waterproof solid that could hold complex patterns without deforming. The outcome of this is you can amass layers of paint on top of each other so the surface becomes highly elevated.
The different mediums and additives that are available with acrylic paint, to suit textures, are countless. Gel mediums, matte or glossy finish and thick modelling paste are just some examples to enlarge texture and the options available allow room for all the creativity one might have.
Materials and Tools You Will Need in Texture Creation
In this segment, we will have a look at the materials and tools required to create beautiful textures.
Palette knives – For those who are looking to add thick layers of paints with 3D effects, palette knives are ideal. Thanks to their flat blades, they can help in sweeping the paint to sculpt it directly on canvas.
Brushes – There are many types of brushes out there, but to get the finer details traditional brushes are the best. But this doesn’t mean that never underestimate unconventional brushes for instance, stiff bristled brushes can add scratchy textures while soft ones are used to smoothen layers.
Sponges – Sponge can add dents when dabbing on the paint to create patterns and they are excellent for mixing colors together.
Last but not the least, we have the acrylic mediums which are necessary in order to be able to create a better finishing. Gel mediums and soft gels serve different purposes from thick to thin applications.
Modeling paste can be sculpted before setting which adds to its versatility and dries to a solid form. In terms of artwork, these mediums can be used to add everything from textures to 3D effects which are all bound to enhance your artwork.
Acrylic Painting Texture Techniques
Now let’s go over some techniques that you can use to create texture for your acrylic paintings.
Layering In
Adding depth and dimension to your piece of art demands precision and skills in layering which is vitally important to paint.
The basemost paint layer should be applied first and should be devoid of moisture followed by applying the second layer with the help of a palette knife or a brush once the initial layer is dry. The base should still be visible and This can be repeated quite a lot of times with different colors and mediums to set a sophisticated surface.
However, you should refrain from much cross layering at the start and if you want to start by cross-layering do it with much contrasting colors. For instance, you can start cross layering base light blue base paint followed by blue green on it. This will create a captivating contrast and my certainty impress people.
Impasto Technique
Now the Impasto technique is by far one of the most exciting and daring techniques to practice while painting, and this is due to surpassing the boundaries of traditional colors and paints to a great extent which applies directly from the tube, thus giving the surface a vivid and thick texture in an audacious manner.
I will always remember the first time I tried out the impasto technique in which I tried out a sunset landscape and applied heavy strokes of red, orange and yellow to the painting. Once I stepped back, I realized that the texture of the painting seemed to shimmer and quite invigorated, the sun seemed to shine very vividly on the canvas and I was rather shocked due to the amount of energy it brought to the piece as a whole.
Using Mountain and Surface Types
The greatest parts about creating walls that have texture is the use of rough objects to make it.
I remember using fabric to create intricate patterns some time ago. While I used textured materials like crumpled cardboard which left an interesting mark on wet paint, some materials like fabric can create soft patterns which intrigue the audience.
I still remember when I stamped a lace onto one of my pieces in this manner, it gave the work a sophisticated textured background I was not expecting at all.
Try to use different tools and materials, if you’re brave enough, this is where the exciting part begins.
Exploring Textures
And now the final part is experimentations that includeや。
As artists, we tend to put undue pressure on ourselves to make something “perfect,” and that sense of stress is not in favor of us developing. Instead, we should be willing to venture outside of our comfort zone. In this case, mixing different approaches, mediums, or layering methods can be helpful.
Take it slowly if it frightens you. Begin with a few pieces in a mini canvas that would limit your expectations and allow you to benchmark your expectations starting with the basics.
Here is a quick exercise to take your artistic expressions to another level and broaden your understanding in relation to color perception: Get a few different surfaces, such as cloth, wood, or paper, and put some textural elements to them using the methods we talked about earlier. Try Lay on the canvas of a single color, but allow the layering of different textures.
This will not only allow you to gain confidence by coming up with your own methods of expression but guarantee that you find extended dimensions of artistic expression as well.
Common Queries About Creating Textured Surfaces in Acrylics
Which medium works best for creating special effects when using acrylics?
The possibilities when creating textural elements using acrylics are near endless. However, some are easier to use than others.
Ordering massive gel for impasto effects will deliver impressive peaks and shape retention for Heavier Texture. As with most mediums, these gels usually impress the eye. However, it pales in comparison to modeling paste when used for sculptural purposes. Paste modeling after application dries within a reasonable time, thus opening space for creativity. When the paste is still wet, it can be carved and molded into all sorts of interesting shapes and designs, not to mention that a multitude of textures can be created by combining with sand or glass beads. But I can ask this: do I need an extensive setup to work with textures? Not at all: from my experience special tools are not a prerequisite for delivering textures. In fact, almost all artists I met along my journey have their particular set of items they prefer when creating art and they often choose them at home. Dampened sponges, for example, can produce beautiful textures by being lightly patted onto wet paintings. Surely, common kitchen sponges would not require an investment to see how effective they could be. Also, think about using your fingers. In fact, there are times when I prefer to feel the paint and get my hands involved because of the realistic textures. Getting my hands dirty and feeling the paint creates effects that are far more natural and improvised, and more often than not, this commences the use of my hands.
Cardboard, leaves, and even fabric work seamlessly. The focus is on ensuring that there’s enough experimenting done to understand what unique texture can be produced with the item in question.
Is there any technique for how I can maintain texture after it has been made?
When so much emphasis and energy has been spent on developing something distinct, there still remains the concern of texture preservation, in this case.
Before you begin touching your painting, let it completely dry, this advice may be plain and straightforward, but being hasty to do so always results in smeared or incomplete work.
If you plan to protect your painting while also making its color more vivid, consider coating it with varnish once it has fully dried. You are always given a variety of finishes to choose from whether matte, satin or glossy that would go with the desired effect you want to achieve.
As always if you are working with mixed media or such, please be sure to apply the varnish on a small region first to avoid ruining the already created texture. You don’t want to damage your meticulously developed texture!
When dealing with texture, what are some of the errors that are frequent and need to be side stepped?
Consider a hand in glove explanation of the concept of a steep learning tendency of creating textured surfaces.
One frequent or regular mistake is being overly excessive with your mediums. While we want texture, applying too much can lead to a piece that feels chaotic rather than cohesive. An even spread of mediums will suffice and I would recommend allocating it a bit more gradually instead.
Neglecting the drying periods is also another grave mistake. Keep in mind that several mediums have different drying times and place them all together will create a synthesis where blending is unwanted; this can ruin your textures.
Don’t forget to take a step back every so often to evaluate your work as well. Many times during the excitement of it, one may not be able to see the big picture, taking a few steps back and observing your piece from so many angles as possible can correct this.
Conclusion
To conclude, in our final discussion about acrylic painting, we must highlight that textured surfaces are far more than stylistic elements; they are a way in which the artist can truly communicate with the viewer. That is bound to remember one’s artwork
Any painting is more than just a piece of art, adding a touch of emotion and quality to it through layering texturing will easily elevate the work to a whole new level.
As you indulge yourself into the world of texturing and various fabrics, I challenge you to think outside the box. Try out different tools, use everyday objects, and allow your thoughts to go wild.
Creating art is all about trying new things, feel free to comment below regarding any queries or experiences you may have regarding texturing. I’ll take great joy in hearing how textured surfaces have changed or shaped your work!

