The leap-by-leap techniques of ink drawing can unleash the creative vision in you.
Ink drawing is somewhat of a fusion of discipline and free expression where every line, every stroke bears emotions and brings beauty from even the simplest of the things.
Artists have relied on ’ink’ since ages for visual communication which means ink holds a strong place in history. Just imagine this marvel: Before digital art came into life, art was made using ink and some of the greatest painting were just drawn with a pen or a brush.
Let’s say you’re interested in comic art, or you want to draw complex illustrations, or abstract art, ink is a great place to start from.
Those of you who are up for some history, and core techniques to refine your ink drawing skills are in luck because we shall be covering a lot of history, tools and techniques in this post.
Pens at hand? If yes, then let’s set sail on this creative journey.
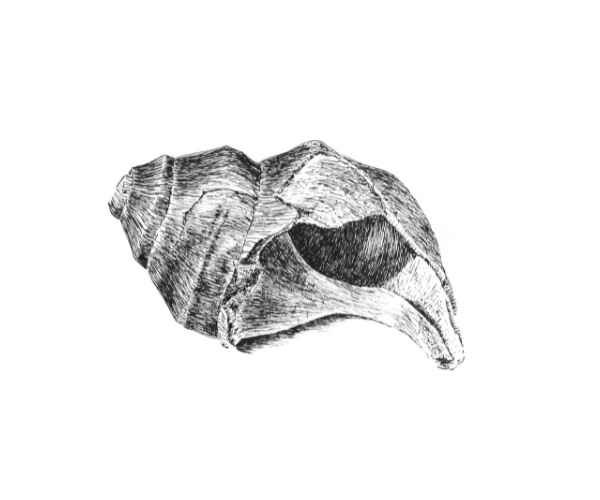
What Is Ink Drawing?
In its most basic form, ink drawing is the process of constructing an image using ink that has been placed onto a canvas with a pen or a brush. This process ranges from designing a quick doodle to constructing a complete intricate work of art.
The medium of ink drawing is quite fascinating and so is its history, that can be traced centuries back to ancient civilizations, where early artist would incorporate various compounds along with water to create art.
When considering the aspect of evolution from the Middle Ages up until now, we have ink artistry developing for highly detailed illustrations in manuscripts to possessing expressive lines drawn up by contemporary artists.
One moment of my life which I cherish is the moment I first held a dip pen in a college art class.
The way I could dip the pen into an ink pot completely changed my desire to create an assortment of thin and bold lines. It dawned on me how ink has the power to shape and structure my imagination which was incredible for me.
Basic Tools To Get Started
A Beginner’s Guide To Ink Drawing Tools You Need.
Having a creative ink drawing set can elevate your art during the creative process.
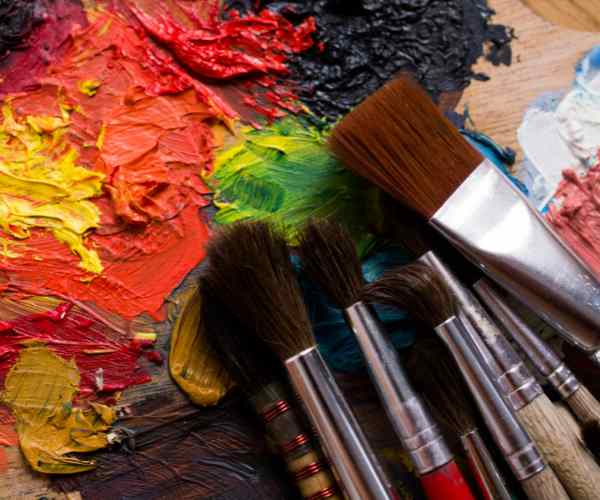
Pens and Brushes
Starting with pens and brushes there is an endless number of options!
Fountain pens work beautifully for detailed artwork with their smooth and flowing lines.
Dipping your pen into ink and gliding it across the paper, like a sliding in ritual, offers you the opportunity to be right in that moment. You, however, have to be precise with it.
Another set of dynamic pens are the brush pens, which as the name suggests, allow for variable pen widths enabling the artist to make a diverse set of artwork.
The tools that you choose to use while working greatly impact your style and techinic.Without a doubt.
For example, brush pens gives more expressive fluid forms compared to fountain pens which offer you a clean precise line as your ink tool of choice.
Inks and papers
Choosing the ink type for your work is just as important as combining the type of pens and brushes to your art, so, next up is the papers and inks. The final piece of work vastly changes with the type of ink chosen.
For the easy use and effortless cleaning, water based inks are ideal but in contrast oil based inks offer richness and striking permanence to your artwork.
Furthermore, textured paper can give you an alternative final product to smooth ones which adds value to the project. The choice of paper is crucial. There is a difference in the way ink interacts with two types of sheets.
Due to my love of paper, I have never been able to ignore the impact my paper choice has on my ink drawings.
And it’s also like a puzzle piece that slots nicely into place – everything just makes sense!
Extra Accessories
So, let us now turn to the extra accessories that can deepen your ink drawing experience.
Precision is vital, and so are clean lines. Rulers, stencils, and other tools may assist you in achieving this, especially in technical sketches.
Erasers are also your allies! They will let you adjust your sketches before making them with ink and rather to try that creativity without the stress of making something permanent.
So far, I have determined that the difference between good work and great work is having the right accessories.
It’s all about finding the techniques or elements that resonate with you, and allowing yourself to play around and be creative.
Central Skills Aspects Of Drawing with Ink
Knowing The Fundamentals
Core Skills Of Ink Drawing – Fundamental Techniques
Drawing Lines
Lin work is at the center of ink drawing let’s get started with it.
You can argue that lines are the essence or foundation of a drawing.
The thoroughness of your lines can get a blank sheet of paper turned into an animated universe full of detail and motion.
To elaborate, a heavy thick line could add more concentration or stress to something, while a lightly thickened line could indicate weakness or boundaries.
I can recall my first attempts in trying to change the range of line thickness. I was drawing a tree and with that, I learned what a tree would look like with a thickened delineation around its trunk while fern-like delineation around the leaves made it appear light and whispy.
Our helpful tips for line work include:
Altering Pressure: Putting less pressure on a pen tip results in thinner lines while putting more pressure on one thickens the lines further.
Divergent Styles: Put to the test straight lines, less curved lines, as well as jagged lines to get a broad spectrum in your drawing h feel.
Steady Consistency: Try to maintain the same line weight for your drawings to have a smoother and more professional outcome.
In general, adding these tips to your daily graphic will add up to your line work, getting your pieces to be livelier and more diverse.
Textures and Shading
Now let’s shift over to shading and texture, two forms that can take your ink dipped graphics from nice to jaw dropping.
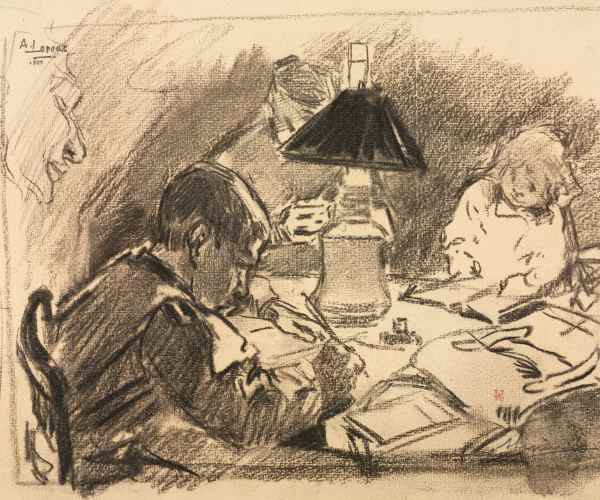
Shading not only introduces dimension to the drawing but also facilitates the manifestation of various emotions in the viewer.
For a better understanding, it is important to mention a couple of fundamental techniques: hatching, cross-hatching and stippling.
Hatching is where set of lines are drawn parallel to each other in order to create shadows. The more spaced the lines the less shadowed the area appears.
At an advanced level cross hatching involves drawing layers of lines in different directions, which adds depth and complexity.
Stippling uses dots rather than lines, enabling a gentler change in a texture.
One Illustrator which I admire as a good example is Edward Gorey and his inventive yet dark illustrations.
Stippling cross hatching and other techniques result in a multitude of shadows and textures that are so engaging.
Once I attempted the same techniques when drawing a cat.
Because I used stipple to mark the texture on the fur, it gave the picture so much more realism, so much so that the cat actually looked like it wanted to jump out from the page!
Composition and Perspective
An equally important method in ink drawing is composition and perspective.
Like the rest of your work, composition and perspective work together to control the layout and direct the observer’s attention.
A story can be told through the arrangement of elements, and the use of perspective can add dynamism to your works.
There was this one time when I was creating a city landscape, and I wanted to add depth to it so I created a road that faded into the horizon.
If I can change the angle of the streets and the size of the buildings, I can give the piece a living three dimensional feel.
Always remember, the strongest compositions are both static and dynamic, pulling the audience’s focus toward the art.
Finding Your Unique Voice as an Ink Artist Finding your unique voice in ink drawing can be a daunting process, but it is also enjoyable.
Experimentation is the crux of the drawing process.
Remember, this is where the true magic happens, so don’t worry about ‘breaking the rules’ of technique or tool use!
Be influenced by other artworks, but be aware that your stylistic approach will follow your training.
I often suggest to beginners to keep at least one sketchbook where they can sketch in different styles, and use different techniques.
Try different things for different pages, e.g. a page may consist of elaborate shading while another consists of line work.
One artist that instantly springs to mind has a style so unique, its hard to forget. The one and only John Tenniel who illustrated Alice’s Adventures in Wonderland.
He has influenced many artists with his talent in portraying both character and emotion through his line work and shading.
So, cherish the journey!
It is during those endeavors that you will discover what feels right for you.
Developing Your Competencies
Becoming Better Through Practice
One critical detail of mastering the art of ink drawing is the knowing the importance of practice.
Sketching on a daily basis is crucial – it’s the equivalent of exercising your imagination!
I’m not saying put in hours, even makin g time for 10 minutes will work.
A great exercise that is useful and easy to do is the ”30-second sketch”.
You can capture a lot in such a short time, and it makes you conscious about the essentials.
One exercise that I often suggest is “sketching of 30 seconds”.
This morning I spent 30 seconds drawing a rock, but I am now convinced that it is much more than that.
Never Neglect Exponential Growth through Learning
Do not overlook the fact that you should have education with others.
To improve at your craft, some artists understand the need to study their peers.
Be sure to analyze their styles, including the shading, line work, and everything else.
There are books such as “Drawing on the Right Side of the Brain” written by Betty Edwards. And the online courses can be a great help too.
A lot of classes I have participated in have been helpful since I try to learn new techniques from them and apply them in my work.
Joining an Artistic Community
Lastly, becoming a part of an artist society can prove to be very helpful.
Giving you the chance to provide for and receive constructive feedback from other artists.
I recall a few years back when taking part of a group online, the amount of encouragement I had received was quite astounding.
Everyone would create something new and share their work along with the placers giving some good criticism, and it assisted me in a way to gaining a different perspective towards my art.
Not to forget, how others do their work is quite motivational too!
Common Questions
What are the best inks for beginners?
What kind of ink you select while starting out can greatly make or break your experience just as any drawing does.
Water-based inks are fantastic for beginners. They’re easy to use, relatively fast to dry, and can be cleaned up without a lot of effort as they are quite easy to use.
Even better, inking isn’t a big problem since you simply rewet the prep and dry it again – easy as pie.
Thinking back, my first experience with ink drawing feels like a long time ago: a simple black water-based one was all i used.
It was very tolerant and I was able to concentrate on the methods effectively without putting too much thought into what I was painting.
India ink is for those who want a more richer black color, however, keep in mind that this ink is a bit hard to take off once dried. Along with being much more deep than average ink, it’s way thicker, so be slightly more careful with it.
You can also try working with colorful inks too as you progress in your drawing as a little hint of color sure adds some life.
What if I mess up while drawing with ink?
Mistakes like these are part and parcel of masterpieces, and as much as they can be irritating, they do tend to lead to something different.
Mediocrity isn’t something to be afraid about, so what if you mess up with your drawing? Sometimes picking a few things up can help and that’s one good way of doing so.
For example, you could pick up a few concepts alongside other elements, if you do make a mistake, it would have the advantage of being masked by things and elements you never thought of.
If it’s more traditional fixes you’re looking for then a white gel pen alongside some correction fluid can fix minute issues really well.
Alternatively, using a workaround like layering or integrating that part into the design would allow one to cover up larger mistakes.
Once, I wanted to erase a branch I had painted on the trunk of a tree… but instead of continuing to draw with a blank screen, I added some leaves and painted them on.
It turned out to be one of my favorite parts of the drawing! Do I need to know how to draw before starting ink drawing? Not at all! One of the beautiful things about ink drawing is that it welcomes artists of all levels. While a foundational understanding of drawing can help, it’s not a prerequisite for diving into ink drawing. If you’re starting from zero, perhaps try shapes and lines first, and then go to something more advanced. The most important thing is to have fun and give yourself permission to evolve. I remember my first days of ink sketching… it was confusing in a pleasant way. Each line I traced was an exciting journey, irrespective of the ‘perfect’ strokes. What are some common mistakes in ink drawing and how can I avoid them? Ah common mistakes! We all do it, but knowing it helps you avoid it. One popular mistake is people not varying line weight enough, if all your lines are same your drawings can look flat. To counter this, make it a point to practice deliberately varying your pressure during, line drawing. Another popular mistake is people don’t plan their composition out prior to beginning.
If you sketch out your ideas first before you begin working on your piece, you’ve saved yourself from the trouble of trying to fit everything in later on.
And there was a time when I forgot to do my planning and instead jumped right into making a detailed drawing, leading to a complete artistic mess.
Due to the past experiences, now I make it a habit to first create a tidy composition that I’m comfortable with!
Can I combine ink drawing with other mediums? Absolutely! Combining ink drawing with other mediums can result in fascinating outcomes.
For instance, ink and watercolor make beautiful combinations.
It is so easy to apply a few strokes of ink over a coat of paint to sharpen your drawing after the colors wash off.
This technique, in my opinion, adds another level of depth and intrigue to the work.
After your ink work has been completed, you might want to think about using colored pencils or even markers to enhance your work.
However, always remember to allow the ink to fully dry so that the other mediums do not smudge the on ink works.
Conclusion
To sum everything up, fundamentals of ink drawing are quite simple, exploration and then growth follows.
From awareness of line quality that is required to even shading and texture, there exists a multitude of techniques present.
So consider embracing this in your ink journey.
Pray strive to create your best visual art in every piece you do. Every effort you make is an additional step towards improvement – for each dash taken is an error that needs to be corrected.
Stop being timid, and flaunt your work, reach out and interact with other designers.
The world of art is full of great potential, and with your insight, it can get even better.
Never forget that art is much more than its result – it is the process from the beginning to the end and the enjoyment and the tales told in the process of making.

