It is simply so enjoyable and liberating to learn the fundamentals of watercolor painting. The very first time when I dipped a brush in color, I was fascinated. And what’s even better is that you don’t have to be an expert to be able to paint. Once you learn the skill, the watercolors can seem to be such wayward but again that’s what makes it exciting, believe you me.
The character of a watercolor lies in the movement of a color when it’s wet in combination with the paper. Assortment of watercolor brushes, the watercolor paper, and sheer basic knowledge gives room for everyone and even the novices to produce astonishing masterpieces. I have come across individuals who have absolutely no background in painting and were able to unearth this artistic flair within them through water, and to me this medium is remarkably forgiving.
In this guide I will help go around the tips, the supplies needed and the strategies which are potentially needed to paint with water colors. I will prepare you in a way you wish to paint whether it be soothing flower or beautiful landscapes because knowing the basics will really help a lot getting there.
Getting Started with Watercolor Painting
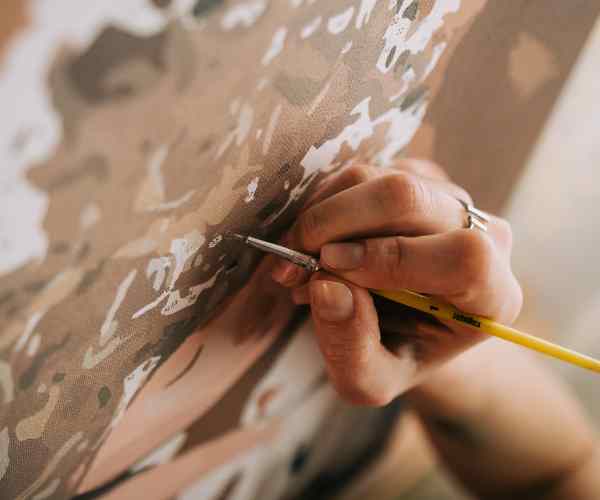
There are a few essentials A beginner should take note of such as tools needed to get started and the workspace set up. It is better to be set up for success as painting in cramped areas with with insufficient light like a crouched table is not the most ideal situation. With all the necessary tools there, I do not have to experience being at war with the materials that are provided to me.
Watercolor works requires a fundamental balance to be maintained; the amount of water one uses, the type of brushes, and even the kind of paper is crucial. Let us look into the necessary supplies that will set you up for success.
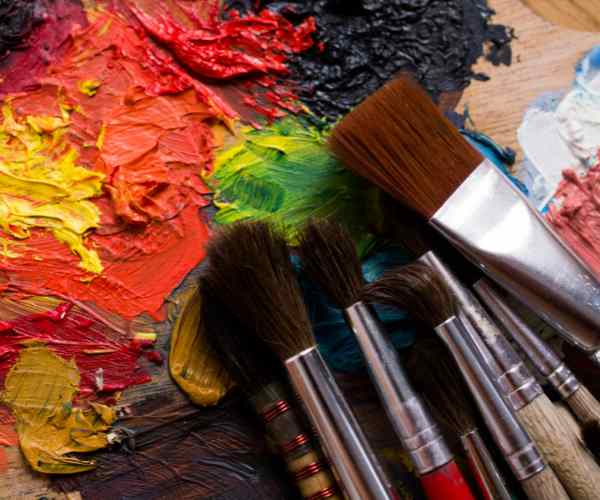
Watercolor Essentials
In order to build a strong foundation, this should be prioritized. The type of paper one uses is fundamentally important, which is something I overlooked as a beginner in this field, and thanks to over time experience I now understand the value it brings. If one uses subpar paper, the lower quality makes it buckles, leading to the colors not mixing sidely.
In terms of paper types, cold-pressed watercolor is a great choice for novices because it has a rough surface that allows for easy use of water and paint. It’s also more effective in helping one create fun and interesting effects because the water doesn’t evaporate and get absorbed that quickly. Now, investing in high-quality paper at the start helps save you years of constantly battling with low-quality materials and achieving nothing close to the desired outcome.

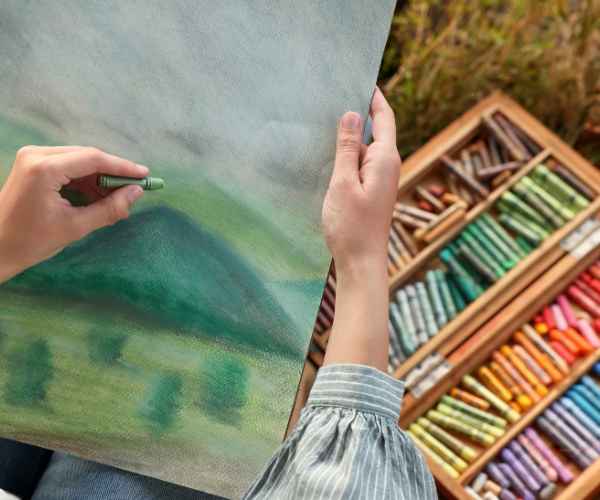
Brushes
The basics of watercolor painting are simultaneously intriguing and very liberating. I recall the very first time I used a watercolor brush and it definitely left me spellbound. Even more interesting is the fact that one does not require to have an expertise in painting, all you have to do is say, practice it! Once mastered theskill of utilizing the watercolors seems so wild yet it is what is it, what would you expect.
Combining the paper and color with a brush is how a watercolor character is created. While there is water color brushes, watercolor paper and basic skills available to all, even amateurs have access in making these visually stunning works of art. These individuals that I have met who have never touched a paint brush in their lives are able tocapture an exceptional artistic ability beneath the calm of water which in my opinion is highly moist.
I’ll explain all of the brushes, supplies and performs that are required and the most effective ways of using water colors in this short Paint with Water Colors Tutorial. I will get you ready in a way you wish to paint hope it be soothing flower sceneries or beautiful landscapes because it will make a significant difference to learn the fundamentals beforehand.
Setting Up Your Work Space
Let’s shift our focus to the workspace or workstation. I’ve done my share of crapsetups before but I learned that comfortable working spaces really do enhance productivity.
For a start, look for an area that is well lit, unless it is unavailable, a good desk lamp would do the job. Be sure that all your materials are easy for you to reach. For me, I keep my desk tidy by organizing my brushes, paints, water containers, and sheets altogether so I don’t waste any time looking for missing items. This also allows me to concentrate better on the painting process itself in the absence of a hoarded desk.
If you’re like me and tend to zone out while painting a piece, then warning notices should be put up, as you still do not have enough room for a few petite objects such as blotting paper for drying your brush or my second water container for dirty water. When a project is properly set up from the beginning, it saves time and makes everything run more smoothly.
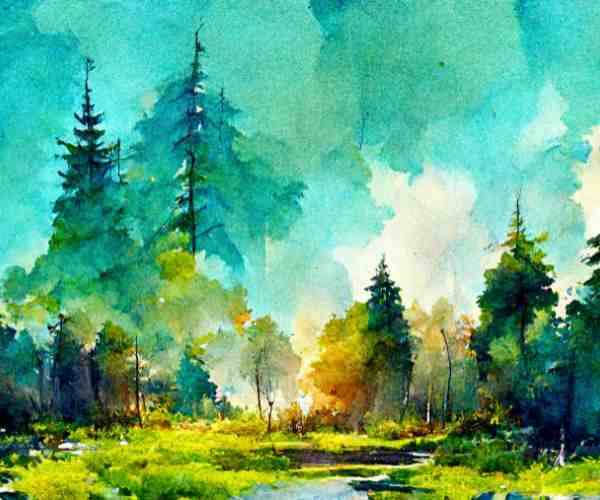
Watercolor Techniques Explanation Creating beautiful watercolors is always an amazing experience that one never fails to enjoy. But there are a few techniques that make it easy for one to understand how to do it. When first trying your hand at painting in watercolors, it is always a bit difficult to manage the control and power that has to be evoked to beautifully paint it where language is learned. And that language is mastery of dynamics. So let’s go through a few techniques together which will help us excel in our watercolor practice.
Wet-on-Wet Technique
The wet-on-wet technique is one that involves stirring up paint and applying it over a dry surface heightening expansion of color to the canvas. Think of it as painting delicate skies or the gentle ripples of water in a landscape, waiting for the color to expand and apply itself over what was already painted. It’s not only about how the paint flows, it is more about the placement of it that I find exciting while using this technique.
In my opinion, the wet-on-wet technique allows for a loss of control as it allows the water and paint to do as they please. It makes e a good combination for those painting areas that are meant to be misty, smooth or don’t require a lot of detail. For my example, when I’m painting a soft ocean scene or a cloudy sky during a wet landscape I can simply use this technique. It is important to note however, that this technique is quite difficult to perfect when starting out as you can easily overpower the strokes with too much water. But the trick remains to use a controlled amount of water.
Wet-on-Dry Technique
If you wish to go about the dry style then I suggest starting with the wet-on-dry technique. Because it allows you to use painted brush strokes over paper. This is the technique to use if your goal is to add a significant amount of detail to your work. While the wet-on-wet technique relies solely on the paint, the wet-on-tissue dry technique accommodates for a significant amount of control albeit using dry tissues.
Wet on dry is the phase where you add minute details into a painting such as edges or lines. Remember, this technique should be implemented whenever it is required to layer on smaller and more controlled elements. For instance, you can paint the edges of buildings or the spindly branches of trees in a landscape. Essentially, this is the stage where finer details are added to a structure that has already been built by broad strokes earlier on.
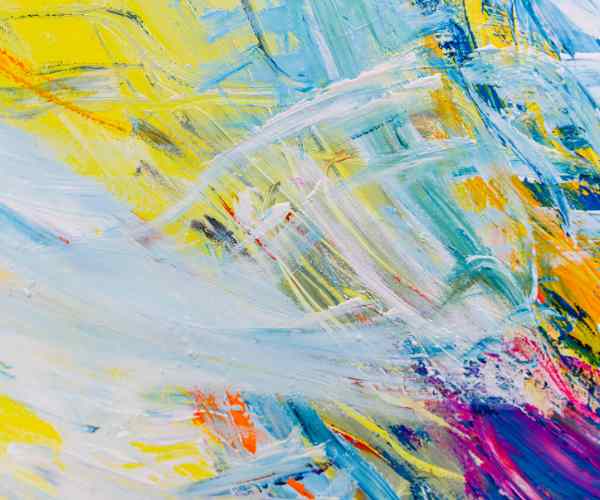
Color Mixing and the Color Wheel
Equipping yourself with color mixing skills is the most pivotal method that can take your watercolor paintings to the next level. There was a time when I was in utter confusion regarding how to get the right color without making it look muddy or dull, and sadly I didn’t spend enough time diving deeper into understanding the color wheel and the matrix of mixing primary colors. It’s not quite as easy as combining different colors and hoping for a miracle. There is definitely some logic to it, which totally changes everything entirely.
The use of the color wheel enables you to learn the connections between primary, secondary and finally even tertiary colors. Everything becomes much easier. For Instance talking via examples, mixing complementary colors (which are located opposing one another on the wheel such as red and green) produces fascinating neutral hues. Mixing analogous colors (which are next to each other on the wheel such as blue and green) allows you to achieve nice results that are suited for landscapes.
To be honest, when I first started my palette was entirely messed up and my colors turned out muddy and quite flat. But then I got to know the basic rules of understanding color theory and my paintings transformed. There is enough life and depth in the art. I would suggest any beginner to start off with two or three colors, red, or blue, or yellow, and see the amount of shades which can be produced through mixing. You will be stunned at how easily and efficiently you can work with a restricted palette.
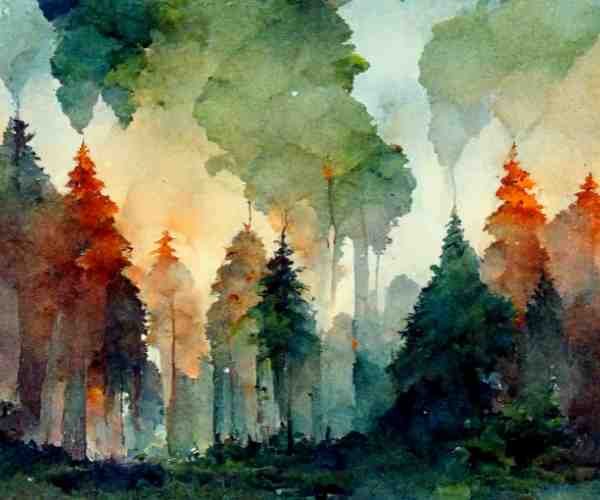
Watercolor Layering and Glazing Techniques
Next comes layering and glazing: two of the other watercolor techniques that could enhance the quality of your watercolor paintings in terms of both depth and richness. Watercolor painting is a form of art that is emphasizes on building up structures and layers gradually. There is no instant gratification where you receive the depth and complexity you desire. This being a gradual process, glazing fits the bill exactly to attain that depth.
Glazing: A New Painting Technique
Glazing refers to adding thin transparent layers of paint over a dry surface on top of many other layers that have been used previously. The only issue is that the other paint layers have been punctured with water for added visibility. This makes the process ideal for adjusting shadow moments or minor colour adjustments. Glazing has previously appeared in many of my paintings, particularly when I try to depict how light might appear to shimmmer off waves or the distant shadow of mountains.
The challenge with painting overlaps is peace. Each segment must be completely dry before the next can be painted. I have been a bit too enthusiastic at times and overly excited colors end up running together and destroying the effect. However, painting in this manner can create these breathtaking and deep canvasses that have a vibrant atmosphere.
Layering
In particular, layering gives an added dimension to color and texture. I usually begin any work by applying light washes of color, followed by more intense layers to deepen the work. This technique is most useful for making landscapes when trying to construct false depth and detail. For example, the base layer would contain significantly darker layers on the top edges, while the top can appear somewhat washed and feeble.
You can think of layering as a tool that helps the French artist in his various paintings with an organized overlay of paint. Layering works out perfectly in helping move the eye around a painting in a designed path. The details in the work in some places will definitely capture attention, the lighter parts will fall back in focus. When you realize layering isn’t some abstract concept then the portrait starts coming together with nice polished edges.
FAQs about Mastering Watercolor Painting
How long will painting with watercolors take to learn?
This sort of question is very popular and the answer to it is that it varies from one individual to another because it is quite relative to the amount of time you are willing to spend on it. When I was starting to learn, I was fortunate enough if I was able to set aside an hour or two three evenings for painting. And quite simply, I didn’t achieve much in the way of results with that kind of inconsistent practice. But once I set out to create it on a regular basis and even if it was small, I started seeing results.
If you’re practicing steadily, even for just 15-30 minutes each day, preparation for improvement will commence within weeks. The ability to develop confidence has its own truly astounding built-in timing. My advice? Take it easy. While some may take only a week or two others may take nine months or longer to easily acclimate, and the important thing is to do it regularly. It’s like exercising- the more you take use of them, the more they build muscle. And it’s not just pure muscle memory. It’s also about getting your head into the right space where the watercolors can take care of a bigger portion of the work for you.
Watercolor, unlike oil or acrylic paint, doesn’t allow you to correct mistakes, but can it done? I believe you can still save some of your work with a watercolor painting. For instance, one of my biggest blunders was to leave too much water on the paper putting me into a state of panic. But then again, isn’t making mistakes part of life? “Lifting” on the other hand is a brush or a paper towel that soaks up a portion of wet paint which makes dark areas blend more smoothly or even softening any edges you have made too many of. Another approach is to soften the edges, dip clean water around the edges of your paint but only paint when dry so the color has stays more muted. With time and practice, you too can turn your ‘major oops’ moments cheers.
But here’s something vital to remember: learn to accept the flaws. Watercolor, being a free flow medium, can be somewhat erratic and that is its beauty, after all. Some of my best works are a result of `happy accidents’ – a pigment bled somewhere it was not supposed to, or a texture evolved by itself. Instead of attempting to fix the minutest of errors, spin around those particulars to see if they can better your artistry.
What is the most effective way of acquiring this skill?
For the beginners, it is primarily about learning the skill set and the pedigree properly. I recall feeling completely lost whilst attempting to tackle intricate paintings, instruments that I did not have already — this only made the entire process a mess for me. So here is the thing, that assisted me in bettering my craft – concentrate on straightforward activities to begin with.
To start, if you have nothing in mind, begin with flat washes, which is simply painting a section of your paper with an even, consistent layer of paint. Yes, it may sound tedious in the very beginning but trust me, it helps you to comprehend on how to balance the ratio between the water and pigment, a balance that will come in handy later on. From flat washes, you could also learn to paint gradient washes by transitioning from darker shades to lighter shades or blooms, it depends on how you look it. This in particular is especially useful in learning how to manage the water-to-paint ratio, which is the main concern of watercolor painting.
Working with aged simple shapes such as, circles, triangles or squares is also a great exercise. It sounds too easy however, it is a great way to polish your brush control as well as get used to the feeling of the paint. In addition, if you can perfect those shapes, they’ll allow you to gain greater confidence when learning to paint more intricate topics.
The essence of practicing is repetition. Do not be in a hurry to finish a full rendition every time you decide to sit down with your art. Sometimes practicing brush strokes, washes or just mixing colors are enough in improving your skill set.
Conclusion
As we wrap this up, we want to know what’s the next goal for you in your watercolor painting pursuit. The ability to master the foundation of watercolor painting doesn’t come easily and neither it comes quickly; this is exactly why it is rewarding. Each time you grab your brush, lo and behold, a new tool falls in your lap whether it’s a technique that gets around your stubborn brain or an unexpected result that sends ideas and creativity tumbling through brain.
That being said, water painting is not only with the tools, it is about the journey. Even when your work of art greatly differs from what you had in mind, it still fully accounts to the creative process. The minute you observe the colors swirling and merging with the water, the tranquility that follows is unlike anything else. It is a mix of time, patience, and most importantly an undying devotion that ensures that you will improve.
Everything said and done, life is not to be lived hiding behind a target. All there is to do is to trust the adventures and pathways that creativity has to offer. As you go down the different paths that the world of vibrant definable colors has to offer, there’s no doubt that you will cherish what lies ahead.;